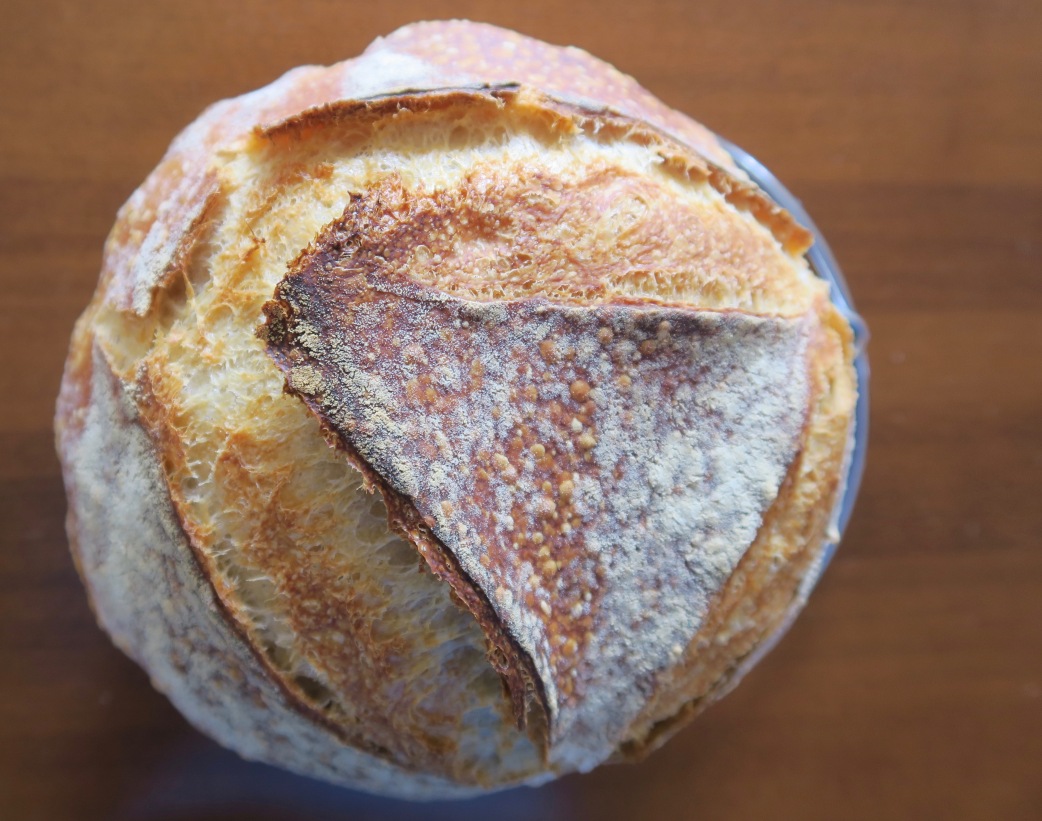
Making homemade sourdough bread takes a lot of time, accuracy, and consistency. During this time of social distancing/isolation is the perfect chance to learn how to make it! It took our household NUMEROUS attempts and many failed loaves to even partially master it.
Not only is sourdough bread super tasty, it has a very low glycemic index (GI). The GI is a relative ranking of carbohydrate containing food and drinks, and indicates the effect that these carbs have on ones blood glucose levels. Foods that contain a low GI help to keep blood sugar levels steady, avoiding spikes. This helps to prevent insulin resistance and the potential development of diabetes.
The long fermentation process gives sour dough bread its distinct taste. During the fermentation process, digestive enzymes and protein function is enhanced, making it easier on the digestive system for those who are intolerant or sensitive to gluten.
Although the process is quite lengthly (~10 days – but can take as long as 2 weeks for the starter to become active), the taste of the bread will be worth it! It’s important to be precise when feeding the starter. Don’t be discouraged if your first few (or 12) loaves don’t turn out as well as you had hoped! Follow the instructions below for the simplified guide to making homemade sour dough bread.
What you’ll need:
- 2, 1 litre sterile glass canning jars
- whole wheat flour
- 1, 2 litre bottles of distilled water – unfortunately there is no way to avoid using bottled water as the water must be distilled and free from all minerals
- digital kitchen scale
- cloth (jay, cheese)
First, you need to make the starter (fermented dough – this a live culture of yeast and lactobacilli bacteria resulting from flour and water that enables the bread to rise):
Ingredients:
- 100 mL distilled water
- 100 g whole wheat flour
- 50 mL distilled water x 9
- 50 g whole wheat flour x 9
Instructions:
- Combine 100 g of whole wheat flour and 100 mL of distilled water in a glass canning jar. Mix this mixture with a fork until smooth. Cover mixture with a jay cloth and store jar in a place with a consistent temperature between 25-30 degrees, for 24 hours.
- Remove 100 grams from this mixture and place it into a new canning jar. To this jar, add 50 mL of distilled water and 50g of whole wheat flour. Mix this new mixture with a fork until smooth, cover with a jay cloth and again, store the jar at a consistent temperature for 24 hours. Discard excess of the leftover mixture (OR, to minimize waste, you can use this to make pancakes, banana bread, biscuits, chocolate pumpkin loaf, ect. .. you can get creative!)
- Repeat this feeding process for the coming days (at least 5). The starter will begin to rise and bubble. Bubbles indicate fermentation, meaning the yeast is developing in your culture which is a good sign, this means that your starter is doing what its supposed to be doing! Side note: if a liquid appears on the top of the starter this is normal, and indicates that your starter needs to be fed. This is called “the hooch”, and has a very foul smell. It is best to discard this by pouring it off.
- At around day 10, there should be plenty of bubbles present in your starter, both large and small. If your starter is bubbly, active, fluffy and spongy, it means it is active and ready to make bread!
Now, to shape and bake the sourdough bread (the complicated part):
What you’ll need:
- digital kitchen scale
- large mixing bowl
- a tea towel
- plastic wrap
- a dutch oven
- parchment paper
Ingredients:
- 230 mL of filtered water
- 400 grams of all purpose flour (you can experiment with replacing some all purpose flour with whole wheat or rye flour) + flour for spinkling
- 160 grams of active starter
- 5 grams of salt
Instructions:
- Add 160 grams of your starter to a large mixing bowl, to this add 230mL of filtered water. This is referred to as the “leaven”, and enables the bread to rise.
- Using your hand, muddle this mixture to breakup the leaven.
- To this mixture add 400 grams of all purpose flour (you can experiment with replacing some all purpose flour with whole wheat or rye flour).
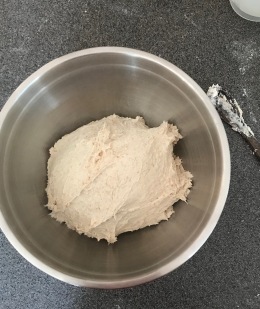
- With your hands, while continually turning the bowl, scoop the flour, water and starter mixture into the centre of the bowl, until it is thoroughly combined and all the flour has been incorporated – the dough will be pretty sticky at this point.
- Cover this mixture with plastic wrap and allow to rest at room temperature for ~20 minutes.
- After resting for 20 minutes, sprinkle 5 grams of salt over the dough. Continue to mix the dough in the same manner as in Step 4, until all the salt is incorporated – you will notice at this point that the dough is not as sticky. Cover the dough with plastic wrap and let sit at room temperature for ~ half an hour.
- Mix the dough in the same circular motion, for ~30 seconds. Set the dough aside and let rest for three hours – this is the first rise, known as “bulk fermentation”.
- During these 3 hours, every 30 – 45 minutes, “stretch and fold” the dough, this strengthens the dough. To do this, wet your hands, and fold the dough into the centre while turning the bowl. Continue until the dough forms a ball in the centre of the bowl, this is done in place of kneading.
- Next, shape the dough. After resting, stretching and folding for 3 hours, gently remove the dough from the mixing bowl using a scraper, onto a floured surface.
- To shape the dough, fold all sides into the middle, pulling in the corners, until forming a round shape.
- Pick up the dough using a scraper, and flip it over. Use your hands to tuck the dough into a circular shape. Let the dough rest on the counter for 10 minutes.
- Pick up the dough and again flip it over. Once more, folding in the sides towards the middle until a round shape is formed. Sprinkle flour over the top of the dough.
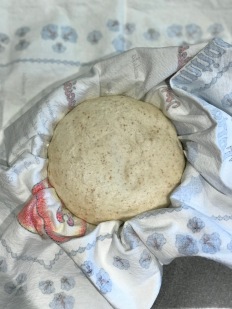
- Place the dough (seam side up) into a floured proofing basket or a large mixing bowl lined with a tea towel. Cover the bowl with a tea towel and wrap the bowl in a sealed plastic bag. Place it in the fridge to rest for at least 12 hours.
- Heat up a dutch oven with the lid on, in the oven for 20 minutes at 450 F.
- Remove the dough from the fridge and bring it to room temperature. Place a piece of parchment paper over the the basket or bowl and gently flip the dough onto the counter. Score the top of the bread with a sharp knife and immediately transfer the dough into the dutch oven.
- Bake the dough at 450 F for 20 minutes with the lid on. Remove the lid and continue to cook for 20 more minutes at 425 F or until the internal temperature is ~200 F.
- Transfer the bread out of the dutch oven onto a wire rack to let cool for at least 3 hours.
- (Drench the sour dough with butter &) Enjoy!!
I watched this youtube video as a guide to help with the shaping and baking process. It is super helpful! https://www.youtube.com/watch?v=sZP3TKWlGnA.

Special thanks to Dede and Mark for the assistance ;)
Happy sour dough making!
Anna x
References:
Dear Test Kitchen. (2020). How To Make The Best Sourdough Bread | Dear Test Kitchen [Video]. Retrieved from https://www.youtube.com/watch?v=sZP3TKWlGnA


