
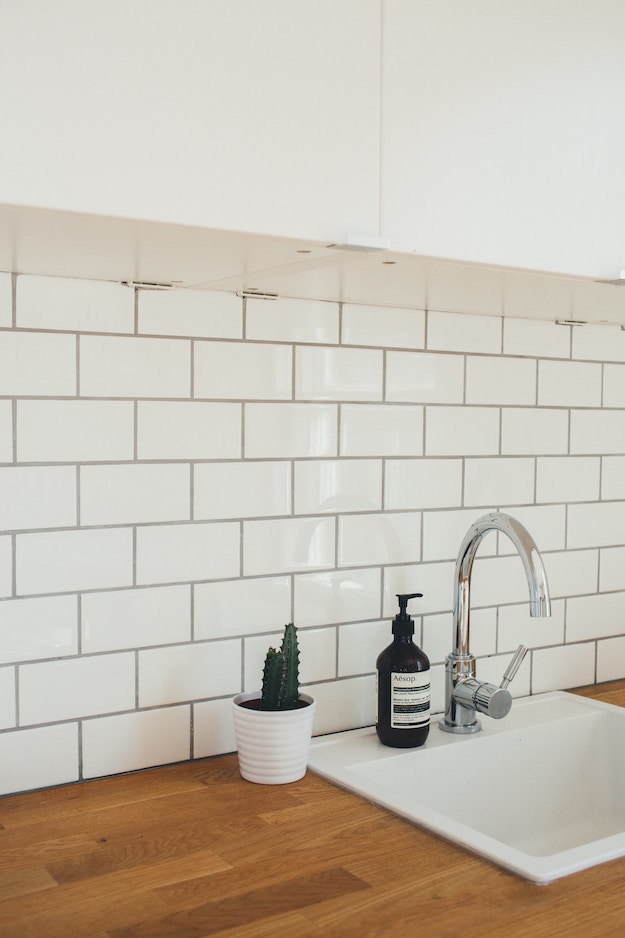
This is one of those DIY projects for home that need to be done right. Have your bathroom neat and clean with the help of installed tiles. The design and vibe it will give your bathroom will set this private space apart from all the other rooms in the house. Choose the tiles you want, and choose when to install it. Yes, YOU! Tiling your bathroom can be achieved and with the help of this DIY tutorial, you should find it easy.
DIY Projects For Home – Tiling Your Bathroom Wall The Right Way
Tiling your bathroom is not as hard as you think
Part of your ever growing enthusiasm for DIY projects for your home is to know how to tile floors and walls in the bathroom, kitchen, or any other room. It is not hard to tile your bathroom, really. Sure it will require some work just like other DIY projects, but it’s not impossible at all. Tiling your bathroom should also be done the right way. The more you involve yourself personally with this type of home projects, the lesser it will cost you and the greater you will appreciate your home.
Supplies:
- Tiles
- Tile Cross Spacers (100 pack) (1.5 mm)
- Tile Wedge (500 pack)
- Mastic Tile Adhesive (20 kg)
- White Rags (1.5 kg)
- Timber
Tools:
- Cordless Angle Grinder
- Hammer
- Cordless Impact Driver
- Gloves
- Eye Protector
- Measuring tape
- Dust Mask
- Trowel
- Bucket
- Tile Cutter
- Level
- Mixing Rotary Bit
Steps:
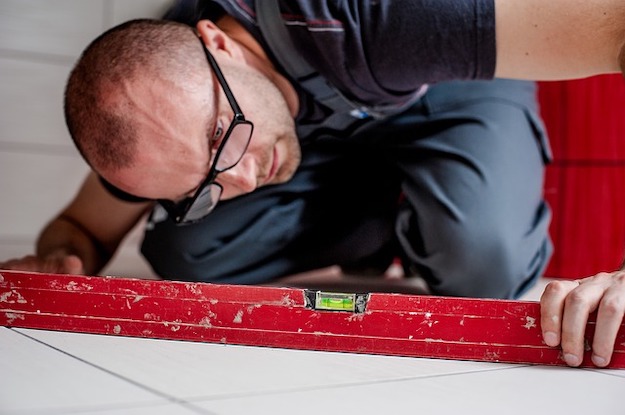
1. Measure the area for tiling.
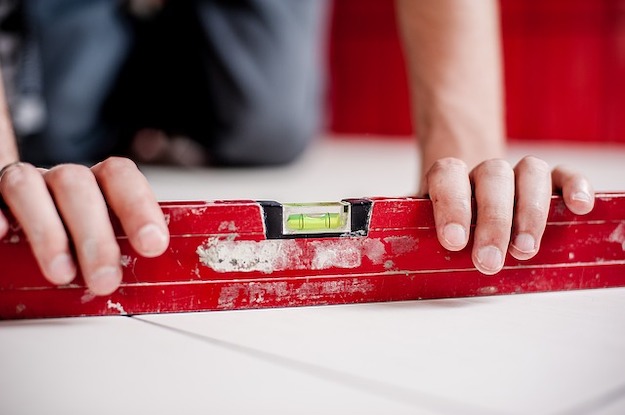
This is in order to establish the areas where tiles are to be installed. Use a level to check the area horizontally and calculate how many tiles will be used.
2. Screw the timber in place.
After checking with a level, screw the timber in place. This will be your mark on where to start. You might not need this if you start from the bottom, or at your floor level.
3. Prepare the tile adhesive.
In a bucket, mix the adhesive powder with water. Mix it using the mixing rotary bit. Make sure this adhesive is what you need and is for waterproofing.
4. Lay the first line of tiles.
Put tile adhesive onto the back of the tile and spread.
Place the first tile on the wall. Put wedges and spacers as you go.
Repeat the process.
5. Adjust.
Should there be any spacing or areas that are not level, adjust accordingly.
6. Lay the second set of tiles to the wall.
Apply adhesive to the wall and don’t let it sit for too long. Place the tiles.
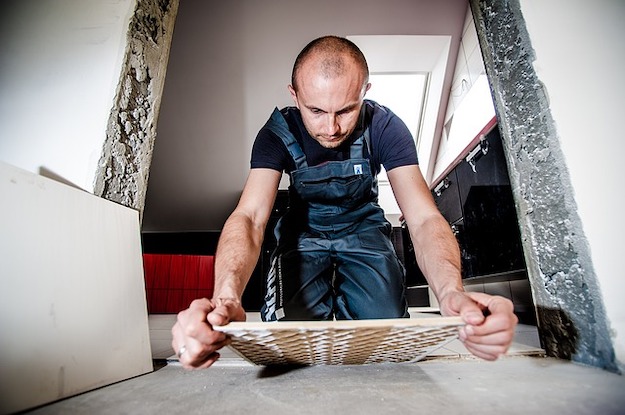
7. Cut tile to size.

If there is a space in your wall where a tile can’t fit like in this project, get a tile and mark where it needs to be cut.
Cut the tile using a tile cutter.
8. Completely tile the wall.
Continue tiling until you have filled your wall. Remove the timber placed earlier to help maintain the horizontal mark and work your way down.
Here is the full video of this awesome tutorial:
Remember to consider some factors before tiling your bathroom such as your wall, the right adhesive to use and the tile of your choice, too. Go ahead and tile your bathroom the right way!
Click here for more easy DIY home projects.
Like this? You’ll also like…
DIY Project: How To Make Rustic Iron Towel Rack and Shelf